Are you a fan of pickles and want to show your love for them creatively? Look no further! In this complete guide, we’re going to walk you down the stairs to design your very own pickle shirt. Whether you’re a crafting enthusiast or a pickle shirt, this DIY project is sure to add a unique twist to your cloth cabinet. Get prepared to turn heads and spark conversations together with your personalized pickle shirt.
Materials You’ll Need to Design Pickle Shirt
Before we dive into the innovative process of designing your pickle shirt, allow’s gather all the substances you will want for this laugh project:
- Plain Shirt: Start with a blank canvas. Choose a shirt in your selected color and size.
- Fabric Paints: Acrylic fabric paints are exceptional for this project as they adhere well to cotton and other fabrics.
- Paint Brushes: A style of brushes in distinctive sizes will help you acquire the preferred level of elements for your design.
- Stencils (Optional): If you are not assured in your freehand portray talents, stencils can be a helpful device for creating unique shapes.
- Palette: Use a palette for blending and mixing paint colorations.
- Pencil and Sketch Paper: For sketching out your design thoughts before making use of them for the shirt.
- Painter’s Tape: This will let you create clean lines and prevent paint from bleeding.
- Drop Cloth or Old Newspapers: To defend your painting surface from accidental paint spills.
Now that you have your materials ready, let’s move directly to the amusing part: designing your pickle shirt!
Design Inspiration
Before you begin portraying, it’s an excellent idea to gather a few design concepts. Here are a few thoughts to get your creative juices flowing:
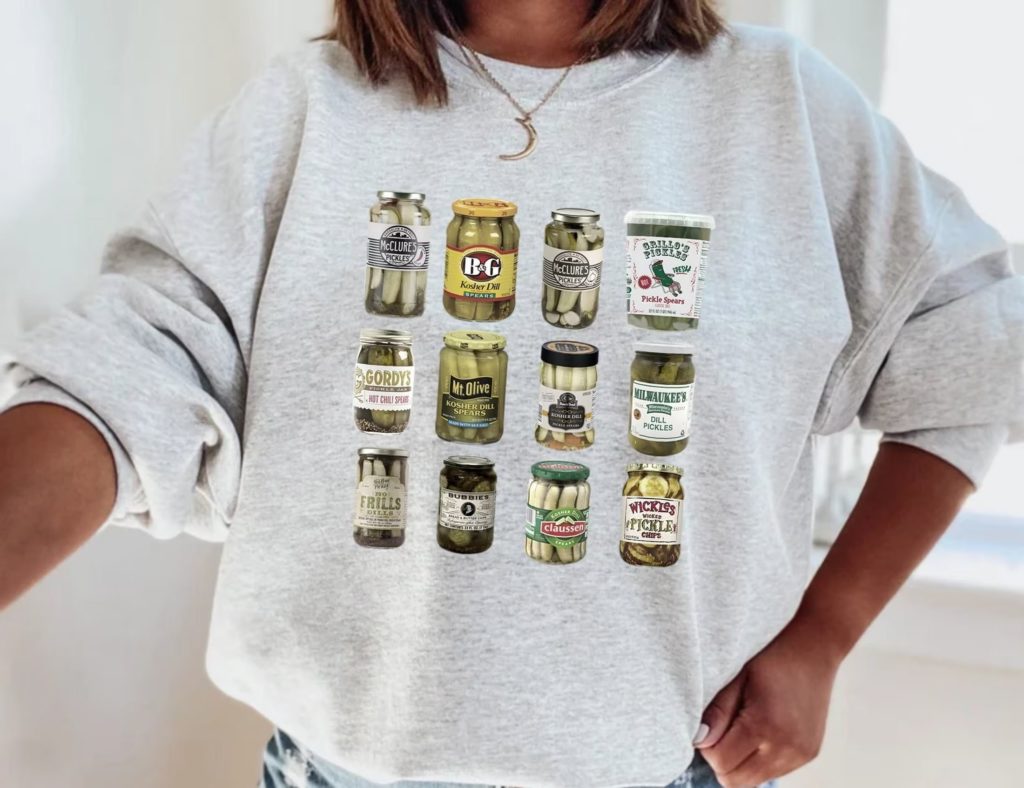
- Classic Pickle Pattern: Create a repeating pattern of pickle illustrations or pickle slices throughout your shirt.
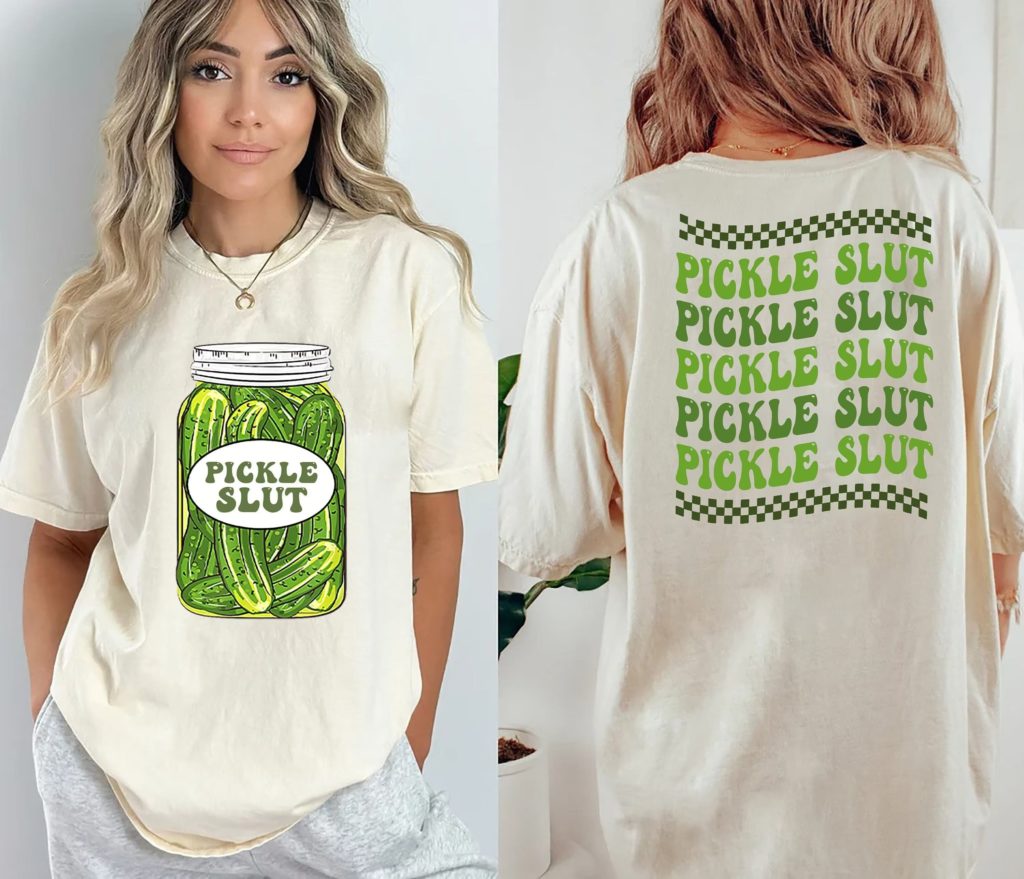
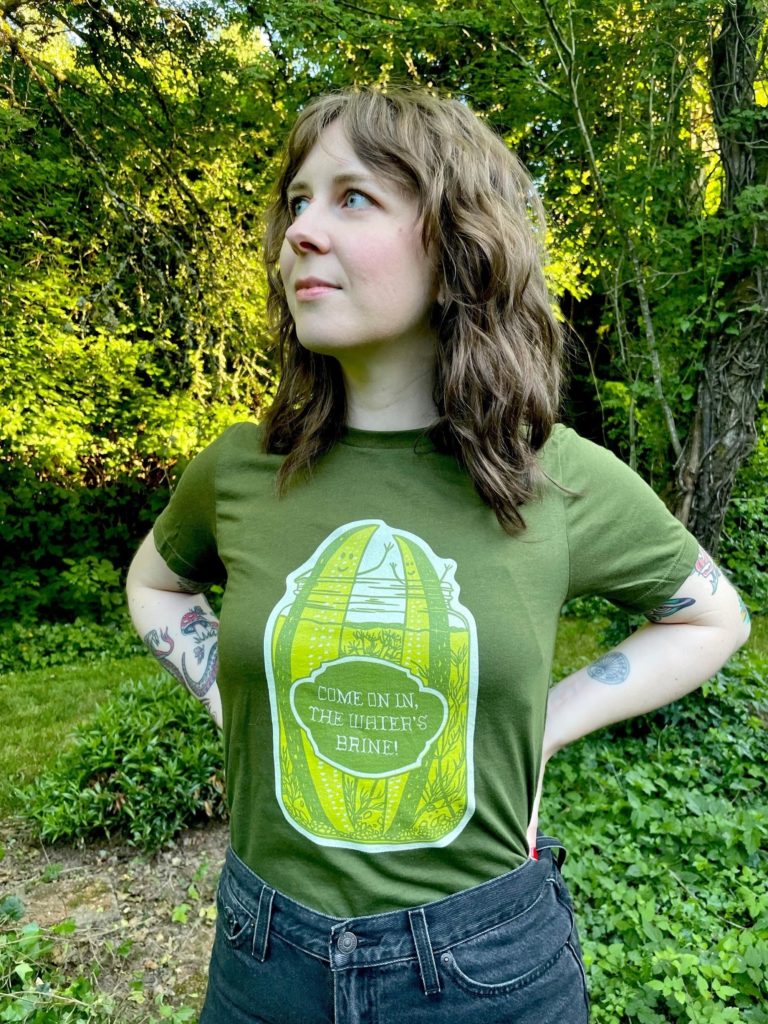
- Pickle Jar Design: Paint a detailed pickle jar on your shirt, entirely with a pickles interior.
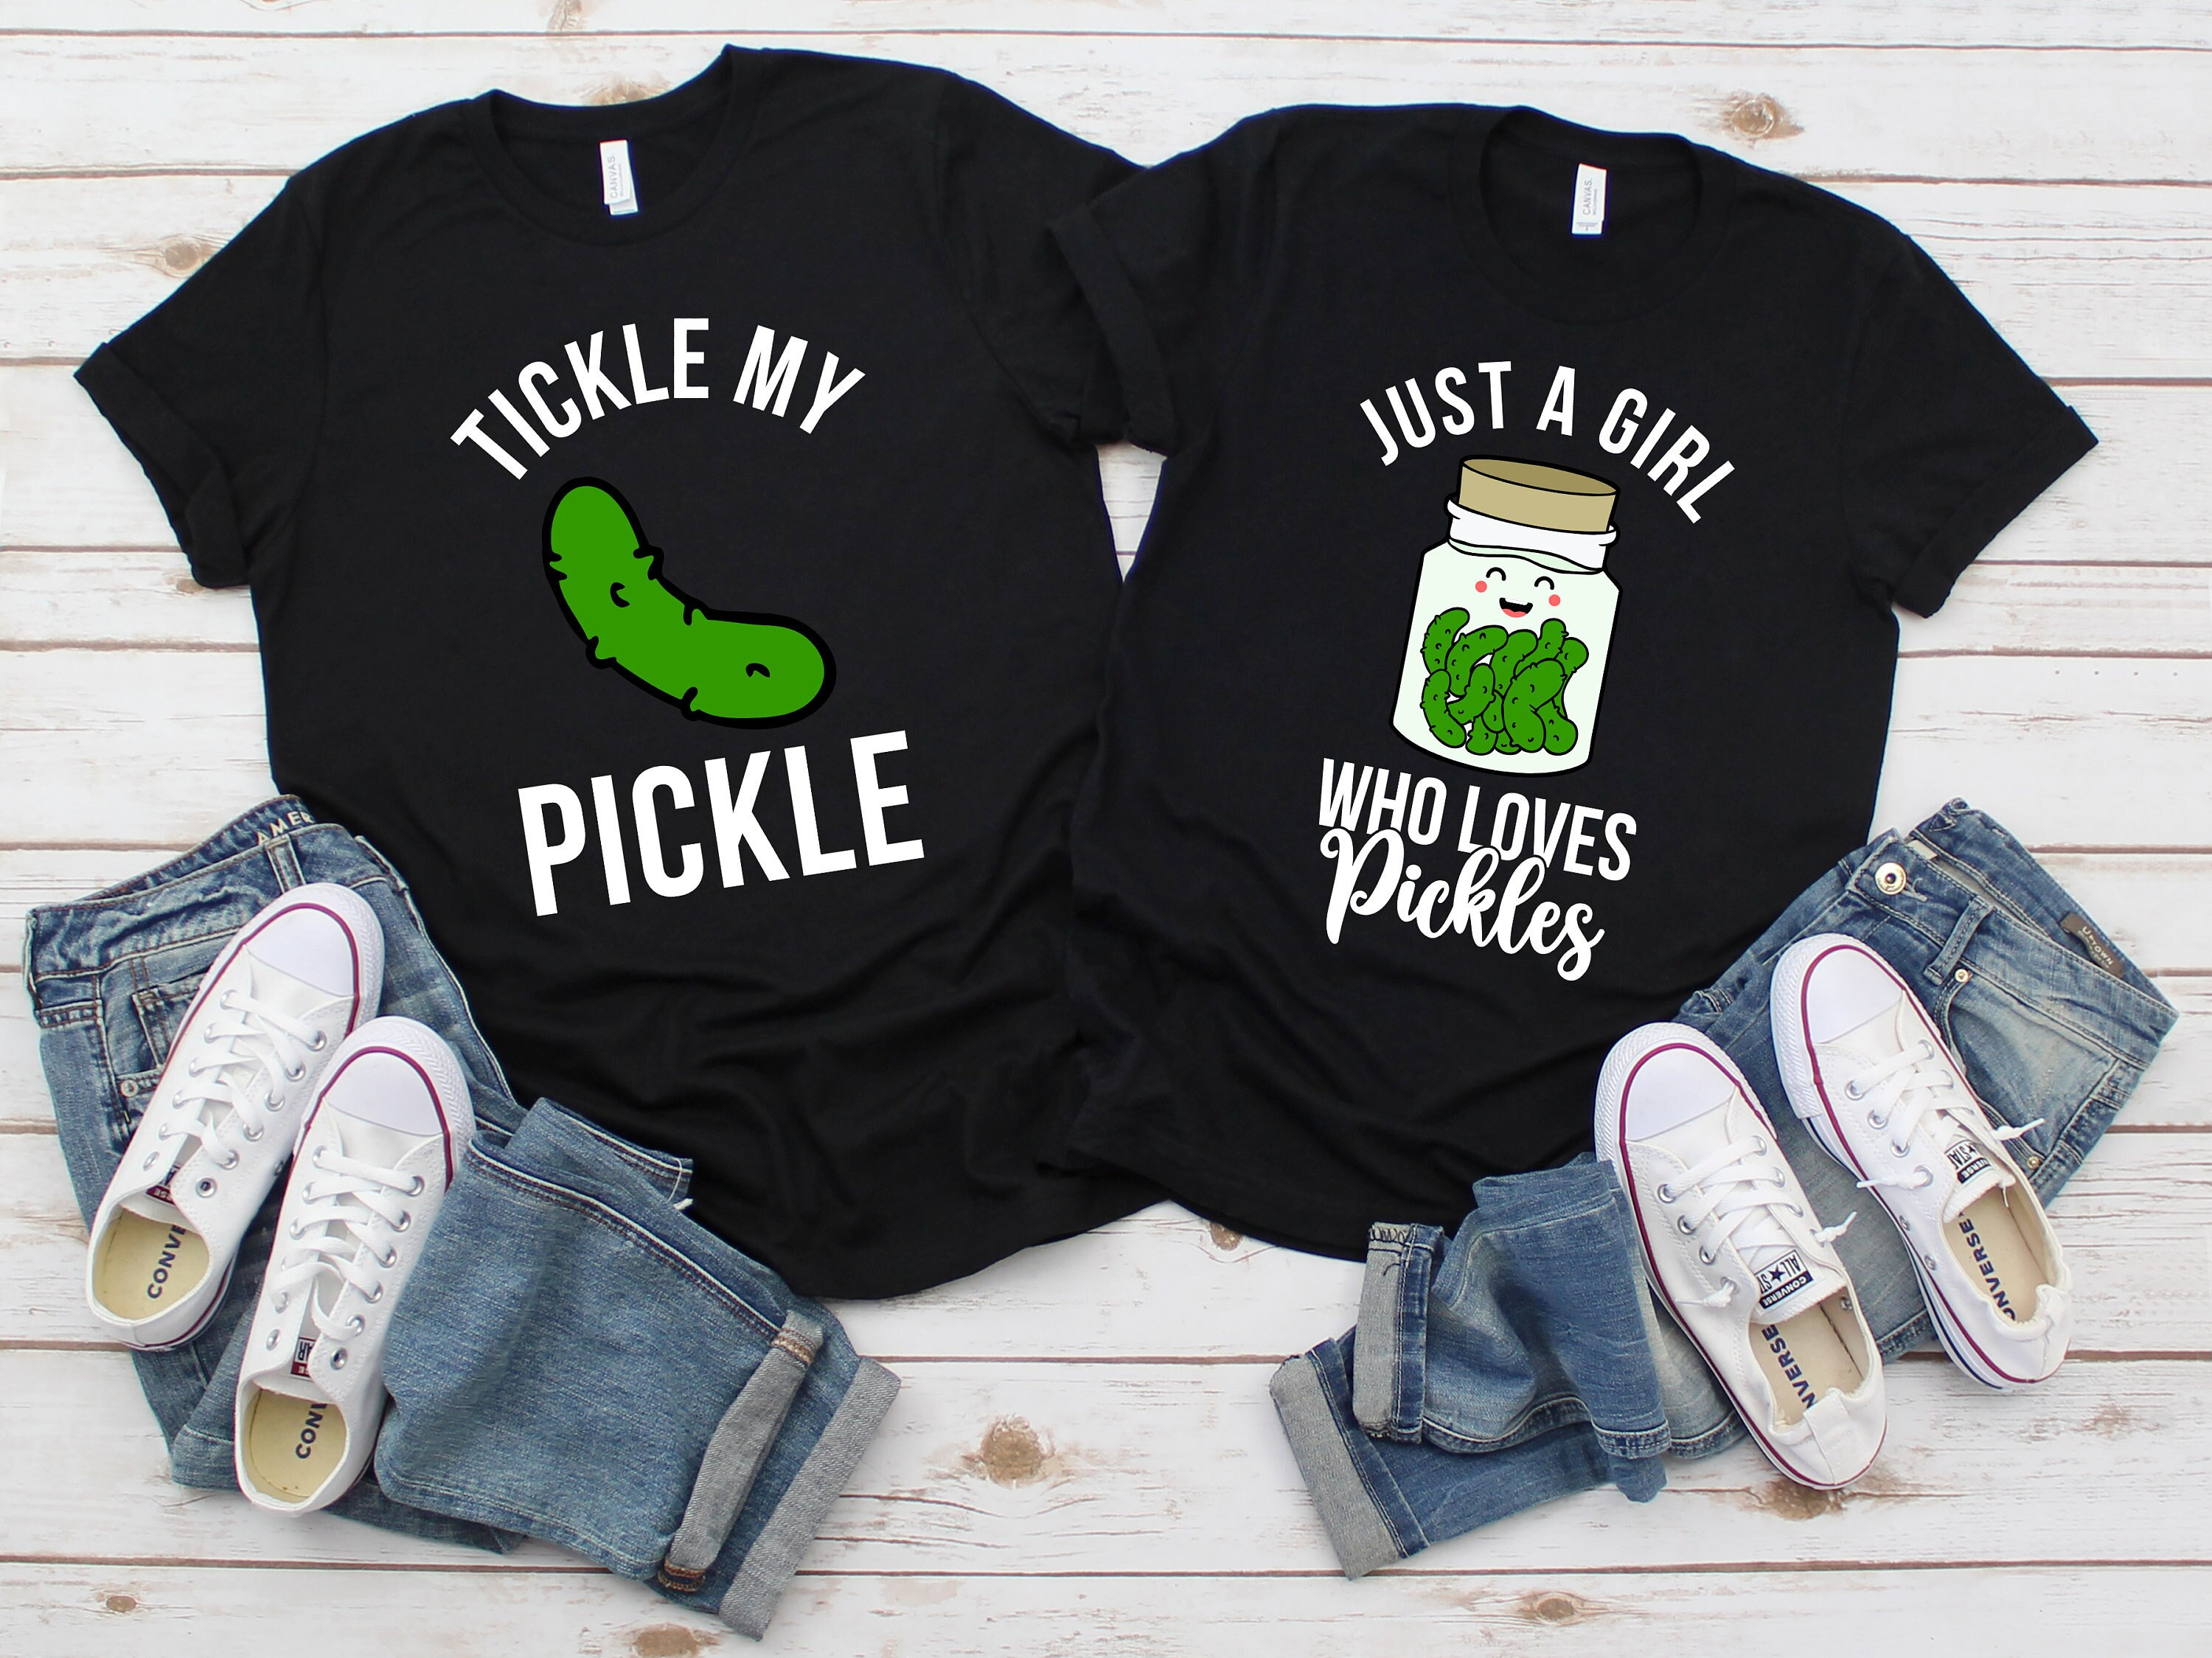
- Funny Pickle Phrases: Add humor to your shirt with witty pickle-associated terms like ‘Dill with it!’ or ‘Pickle Power.’
- Pickle Character: Design a cute pickle person with eyes, a smile, and perhaps even arms and legs.
- Pickle Bouquet: Get inventive by arranging pickles like a bouquet.
- Realistic Pickle: For a greater realistic look, paint an in-depth picture of a pickle.
Creating a Design Plan
Now that you have some layout ideas in mind, it is time to create a plan. Take a sheet of cartoon paper and sketch out your design. Decide where on the shirt you need the design to be and how large you need it to seem. This caricature will serve as your roadmap whilst you begin to portray it.
Choosing the Right Shirt
The choice of shirt is important to the achievement of your task. Consider the following elements whilst choosing your shirt:
- Fabric Type: Cotton is a first-rate desire as it takes cloth paint properly and is cushy to put on.
- Color: Choose a shirt shade that enhances your pickle-themed layout. Lighter colors paint properly for colorful designs.
- Size: Ensure that the shirt length suits you effortlessly.
With your design plan and the proper shirt in hand, it’s time to transport on to the subsequent step.
Gathering Your Art Supplies
Before you start painting, ensure you have all of your art elements within reach. Lay out your drop fabric or old newspapers to defend your workspace from any unintentional spills. Here’s a short tick list of your artwork materials:
- Fabric paints in your preferred shades
- A type of paintbrushes
- Stencils (if the usage of)
- The palette for mixing colorations
- Painter’s tape
- Pencil and sketch paper
- Your selected shirt
- Having everything prepared will make the procedure smoother and more fun.
Designing Your Pickle Shirt

Now comes the innovative component – designing your pickle shirt! Follow these steps:
- Prepare Your Shirt: Place your plain shirt on a flat surface and ensure it is easy and free from wrinkles.
- Sketch Your Design: Use a pencil to lightly caricature your design onto the shirt following your plan. Don’t fear perfection; you may usually make adjustments even as portrayed.
- Start Painting: Dip your paintbrush into your preferred color and begin filling in your layout. If you’re using a couple of colorations, let every coloration dry before including every other to avoid smudging.
- Add Details: Use smaller brushes for finer details, and do not rush. Take your time to make certain precision.
- Let It Dry: Allow your shirt to dry completely earlier than shifting directly to any additional layers or details.
Adding Fine Details
The devil is in the info, they are saying, and this applies to your pickle shirt too. Here are a few suggestions for adding the finishing touches:
- Outline: Consider outlining your design with a contrasting shade to make it pop.
- Shading: Add shading to provide your design intensity and dimension.
- Highlights: Use a lighter color to create highlights for your pickle or design factors.
- Texture: Experiment with one-of-a-kind brush strokes to add texture to your design.
Caring for Your Pickle Shirt
To ensure your DIY pickle shirt stays searching fresh and colorful, observe these care commands:
- Washing: Turn your shirt internally out earlier than washing it in cold water. Avoid using bleach or harsh detergents.
- Drying: Air drying is the gentlest option. If the use of a dryer, use a low warmness placing.
- Ironing: Iron your shirt internally out to defend against the paint, or vicinity a cloth among the iron and the layout.
With the right care, your pickle shirt will stay a cherished part of your dresser for the long term.
Showcasing Your Creation
Now that your pickle shirt is prepared, it is time to proudly wear and exhibit your introduction. Here are a few thoughts:
- Wear it to a picnic or BBQ celebration for a pleasing pickle shirt.
- Rock it at a meals competition or farmers’ marketplace in which pickles abound.
- Gift it to a fellow pickle fanatic and watch their pleasure.
Sharing Your Work
Don’t keep your masterpiece to yourself! Share your DIY pickle shirt on social media using hashtags like #PickleShirt and #DIYFashion. You also can be part of online crafting communities and boards to connect to others who proportion your passion for innovative fashion.
Additional Tips
- Protect Your Work Surface: Lay down a plastic drop cloth or use old newspapers to shield your workspace from paint spills and splatters. This will make cleanup a great deal simpler.
- Test Colors First: Before making use of color in your shirt, take a look at it on a scrap piece of cloth or paper to make certain it suits your vision. This can save you from surprises and remodeling.
- Blend Colors: Experiment with mixing different colors to create precise shades and gradients. Mix hues for your palette and take a look at them on a separate surface earlier than applying them to your shirt.
- Use Fabric Markers: Fabric markers can be an accessible opportunity for brushes, specifically for including exceptional information or writing textual content. They offer particular manipulation and are available in numerous colorings.
- Embrace Imperfections: Remember that handmade objects often have charming imperfections. Embrace them as a part of your design’s character instead of trying to achieve absolute perfection.
- Customize Labels and Tags: Remember to personalize the labels or tags inside your shirt. You can use cloth markers to add your signature or a personal message.
- Involve Friends and Family: Turn your pickle shirt project into an amusing social interest related to pals or family participants. Host a DIY shirt-portray celebration and see what innovative designs emerge.
Resources
- Craft Stores and Online Retailers: Craft stores like Michaels, Jo-Ann Fabric, and Hobby Lobby offer an extensive range of fabric paints, brushes, and different artwork components. You can also find those supplies on famous online outlets like Amazon.
- DIY Tutorials on YouTube: YouTube is a treasure trove of DIY tutorials. Search for ‘DIY pickle shirt’ or ‘fabric painting educational’ to find step-by-step video courses that could visually stroll you through the process.
- Pinterest for Design Ideas: Pinterest is a wonderful platform for coming across layout proposals. Search for ‘pickle shirt layout’ or related phrases to locate infinite design ideas and styles.
- Online Crafting Communities: Join online crafting groups and forums in which you may percent your work, ask for advice, and connect to fellow DIY fans. Websites like Reddit’s r/crafts and Craftster.org are extremely good places to start.
- Fabric Paint Brands: Explore respectable fabric paint brands along with Tulip, Jacquard, and DecoArt. Their websites frequently provide extra pointers, tutorials, and product suggestions.
- Fabric Sealer: Look for material sealers or fabric mediums to defend your design. Brands like Angelus and Delta Ceramcoat provide material sealers that can assist in keeping your paintings.
- Instagram and Pinterest Hashtags: Search for hashtags like #PickleShirt, #DIYFashion, and #FabricPainting on Instagram and Pinterest to discover a wealth of innovative ideas shared by fellow DIY fanatics.
- Local Craft Workshops: Check if there are nearby craft workshops or instructions for your vicinity that focus on material portray or DIY clothing design. These hands-on reviews can provide precious steerage and proposal.
Conclusion:
Designing your pickle shirt is a brilliant manner to specify your love for pickles and unleash your creativity. With the right materials, a nicely-notion-out plan, and some creative flair, you may create a unique piece of wearable art that is bound to turn heads and begin conversations. So, snatch your paintbrushes and let your pickle-inspired imagination run wild. Happy crafting!
FAQs:
Q1: What sort of fabric is the quality of a pickle shirt?
Ans: Cotton is a top-notch desire for pickle shirts as it readily absorbs fabric paint and is comfortable to put on. However, you could experiment with other natural fiber fabrics like linen or blends for distinctive textures.
Q2: Can I use everyday acrylic paint for cloth portraits?
Ans: It’s not recommended to use regular acrylic paint for material portrayal, as it could not adhere properly to cloth and could bring about a stiff, uncomfortable end. Instead, opt for cloth-particular acrylic paints designed to be used on textiles.
Q3: Do I need to clean the shirt earlier than the portrait?
Ans: Yes, it’s a great exercise to scrub the shirt earlier than painting to eliminate any sizing or chemicals that can be at the material. Make certain the shirt is dry earlier than you begin to portray.
Q4: How can I make my design permanent?
Ans: To make your layout more everlasting, remember to use cloth sealer or textile medium. These products can assist in setting the paint and make it more durable, even after multiple washes.
Q5: Can I use stencils for elaborate designs?
Ans: Yes, stencils may be a terrific tool for achieving difficult and precise designs for your pickle shirt. They are mainly handy if you’re no longer assured of your freehand portraiture talents.
Q6: Can I use a hairdryer to hurry up the drying procedure?
Ans: Yes, you can use a hairdryer on a low warmth setting to hurry up the drying system between paint layers. Just be careful not to apply an excessive amount of heat, as it may cause the paint to bubble or crack.
Q7: Can I paint on each side of the shirt?
Ans: While it’s feasible to paint on both aspects of the shirt, keep in mind that the paint may additionally bleed through to the opposite aspect. If you want to paint on both facets, region a piece of cardboard or plastic inside the shirt to save you this.
Q8: How do I restore a mistake if I make one while portraying?
Ans: If you’re making a mistake, don’t worry! Let the paint dry absolutely, then paint over the mistake with the right color. Alternatively, you could lightly scrape off the dried paint with a craft knife.
Q9: What must I do if the material paint feels stiff after drying?
Ans: If the fabric paint feels stiff after drying, you could strive to wash the shirt to melt it. If it still feels stiff, you may have used excessive paint. In the future, use lighter layers of paint for a softer finish.
Q10: How long does it take for cloth paint to be completely treated?
Ans: The curing time for cloth paint can vary depending on the brand and form of paint used. Typically, it may take 24 hours to several days for the paint to be completely treated. Follow the producer’s instructions for the unique paint you’re using.
Read More: The Tragic Murder of Alianna DeFreeze: A Story of Heartbreak and Hope


